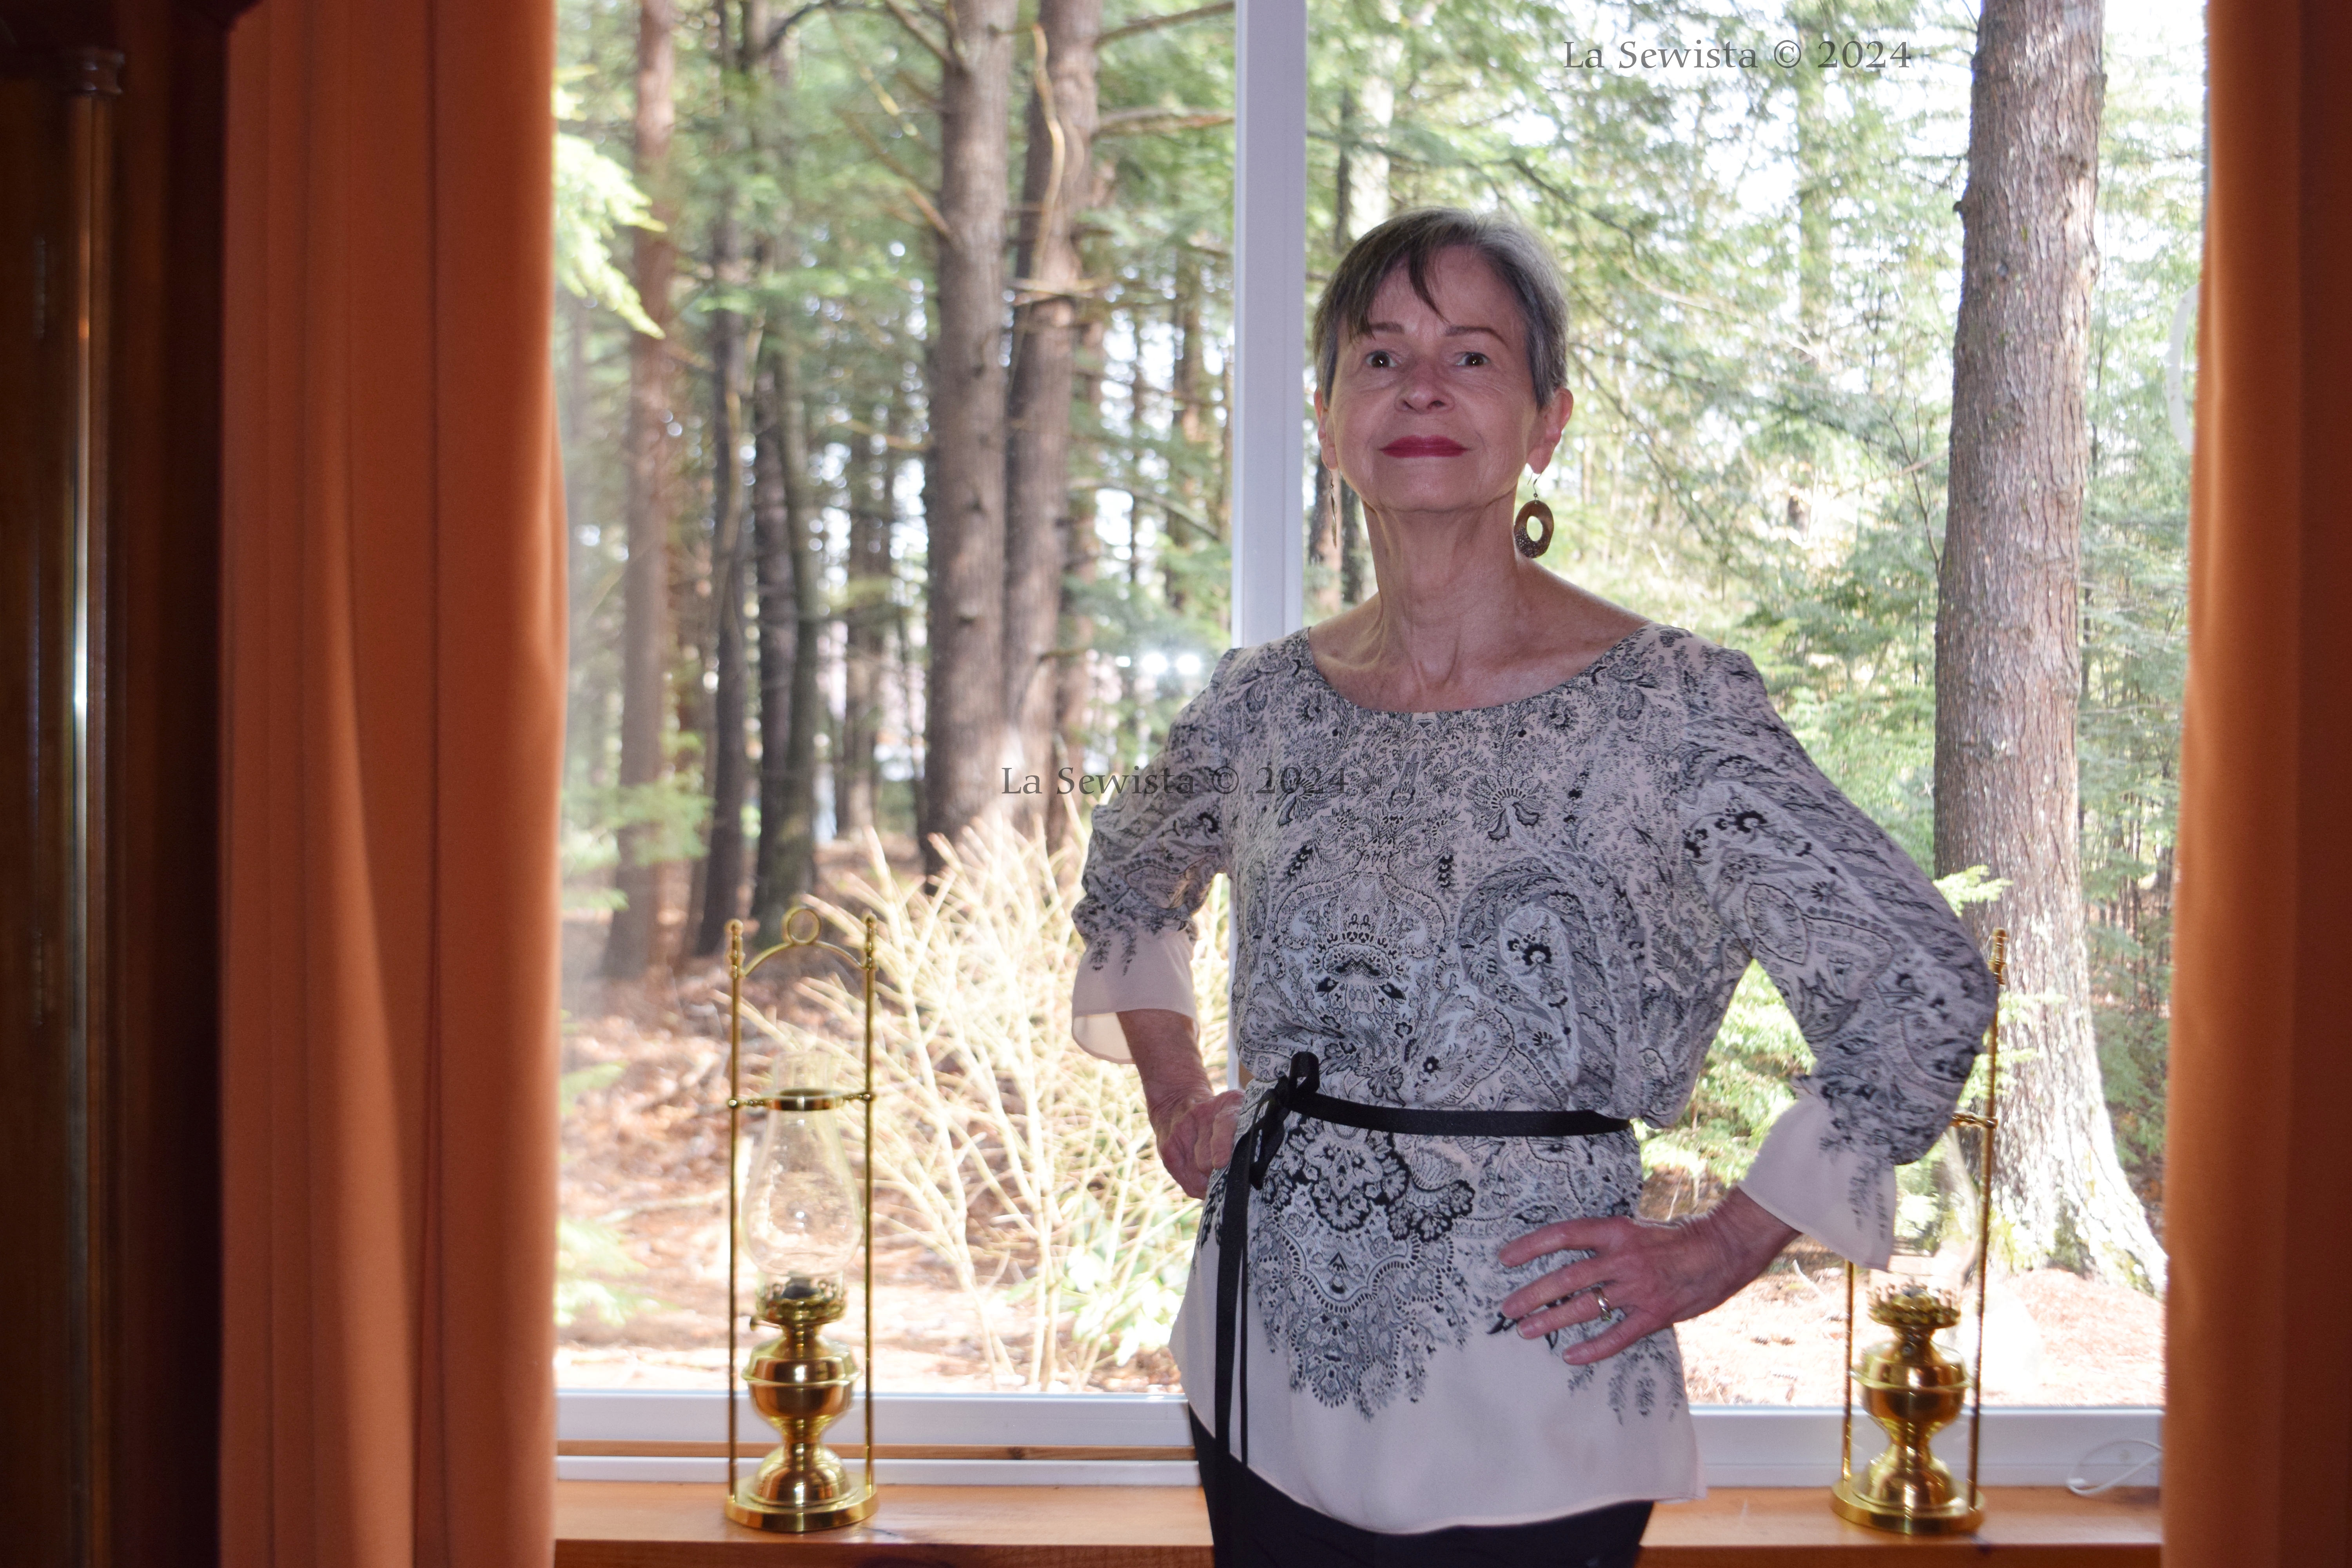
Not quite sure how I would describe this design. Monastic? Faux angelic? I can tell you it is very comfortable, cool and flow-y, and I like it. I think it will be great for summer days when I am in cool air conditioned areas, like the market or for summer evenings out. It is the Dila Dress from Notches patterns.

Pattern:
This pattern, the Dila, from Notches, is very versatile and a great value for the money paid. It comes with 27 design options. What I made and you see here is what we call locally, "the full boat", the long dress with the v-neck and long sleeves. You can make a short dress, and even a blouse with this pattern. You can vary necklines and sleeves on all. I look forward to making a sleeveless blouse with the Dila design as I really like the shape of the raised waistline and the hidden seamline of that waist under the band. That shorter top may look a bit prego but I can get away with that and would suggest that it would be great for ladies in waiting. The waist gracefully dips from front to back.
A bit about the designers at Notches: One, Evelien, is an architect, publisher of numerous sewing books in Europe, and was a designer/pattern maker for the Belgian sewing magazine, "La Maison Victor" for several years.
Britt, the other half of Notches, has a degree in journalism but also studied design at the Royal Academy of Fine Arts in Antwerp. She wrote the "Big Sewing Guide" book for Maison Victor and developed men's and children's patterns. This is a really strong team here! I love their designs. I found their directions very clear and logical, the logic being often the issue for many indie patterns. I recommend.
Just a reminder to research your sources with indie patterns. There are hundreds out there today, some good, some not so much. Remember, anyone can call themselves anything so do your homework when plunking down your cash.

Fabric:
This dress was made from my favorite: Kaufman Essex yarn dyed linen/cotton blend. It is a pale lilac warp with an ecru weft, very soft in color. I always have a stack of Essex colors on my shelves, ready to sew. I buy them on sale whenever I see them. They are now being carried at Joanns. I've always paid around 12.99 or close at local quilt shops or online. When they hit the floor at Joann's they were priced at 6.99 a yard for one week. I stocked up. Watch for the sales. This is a great basic for pants, tops, dresses, you name it. I sew with it all the time. I pre-wash it and throw it in the machine on cool delicate after construction. It holds up beautifully and requires little ironing.

Construction:
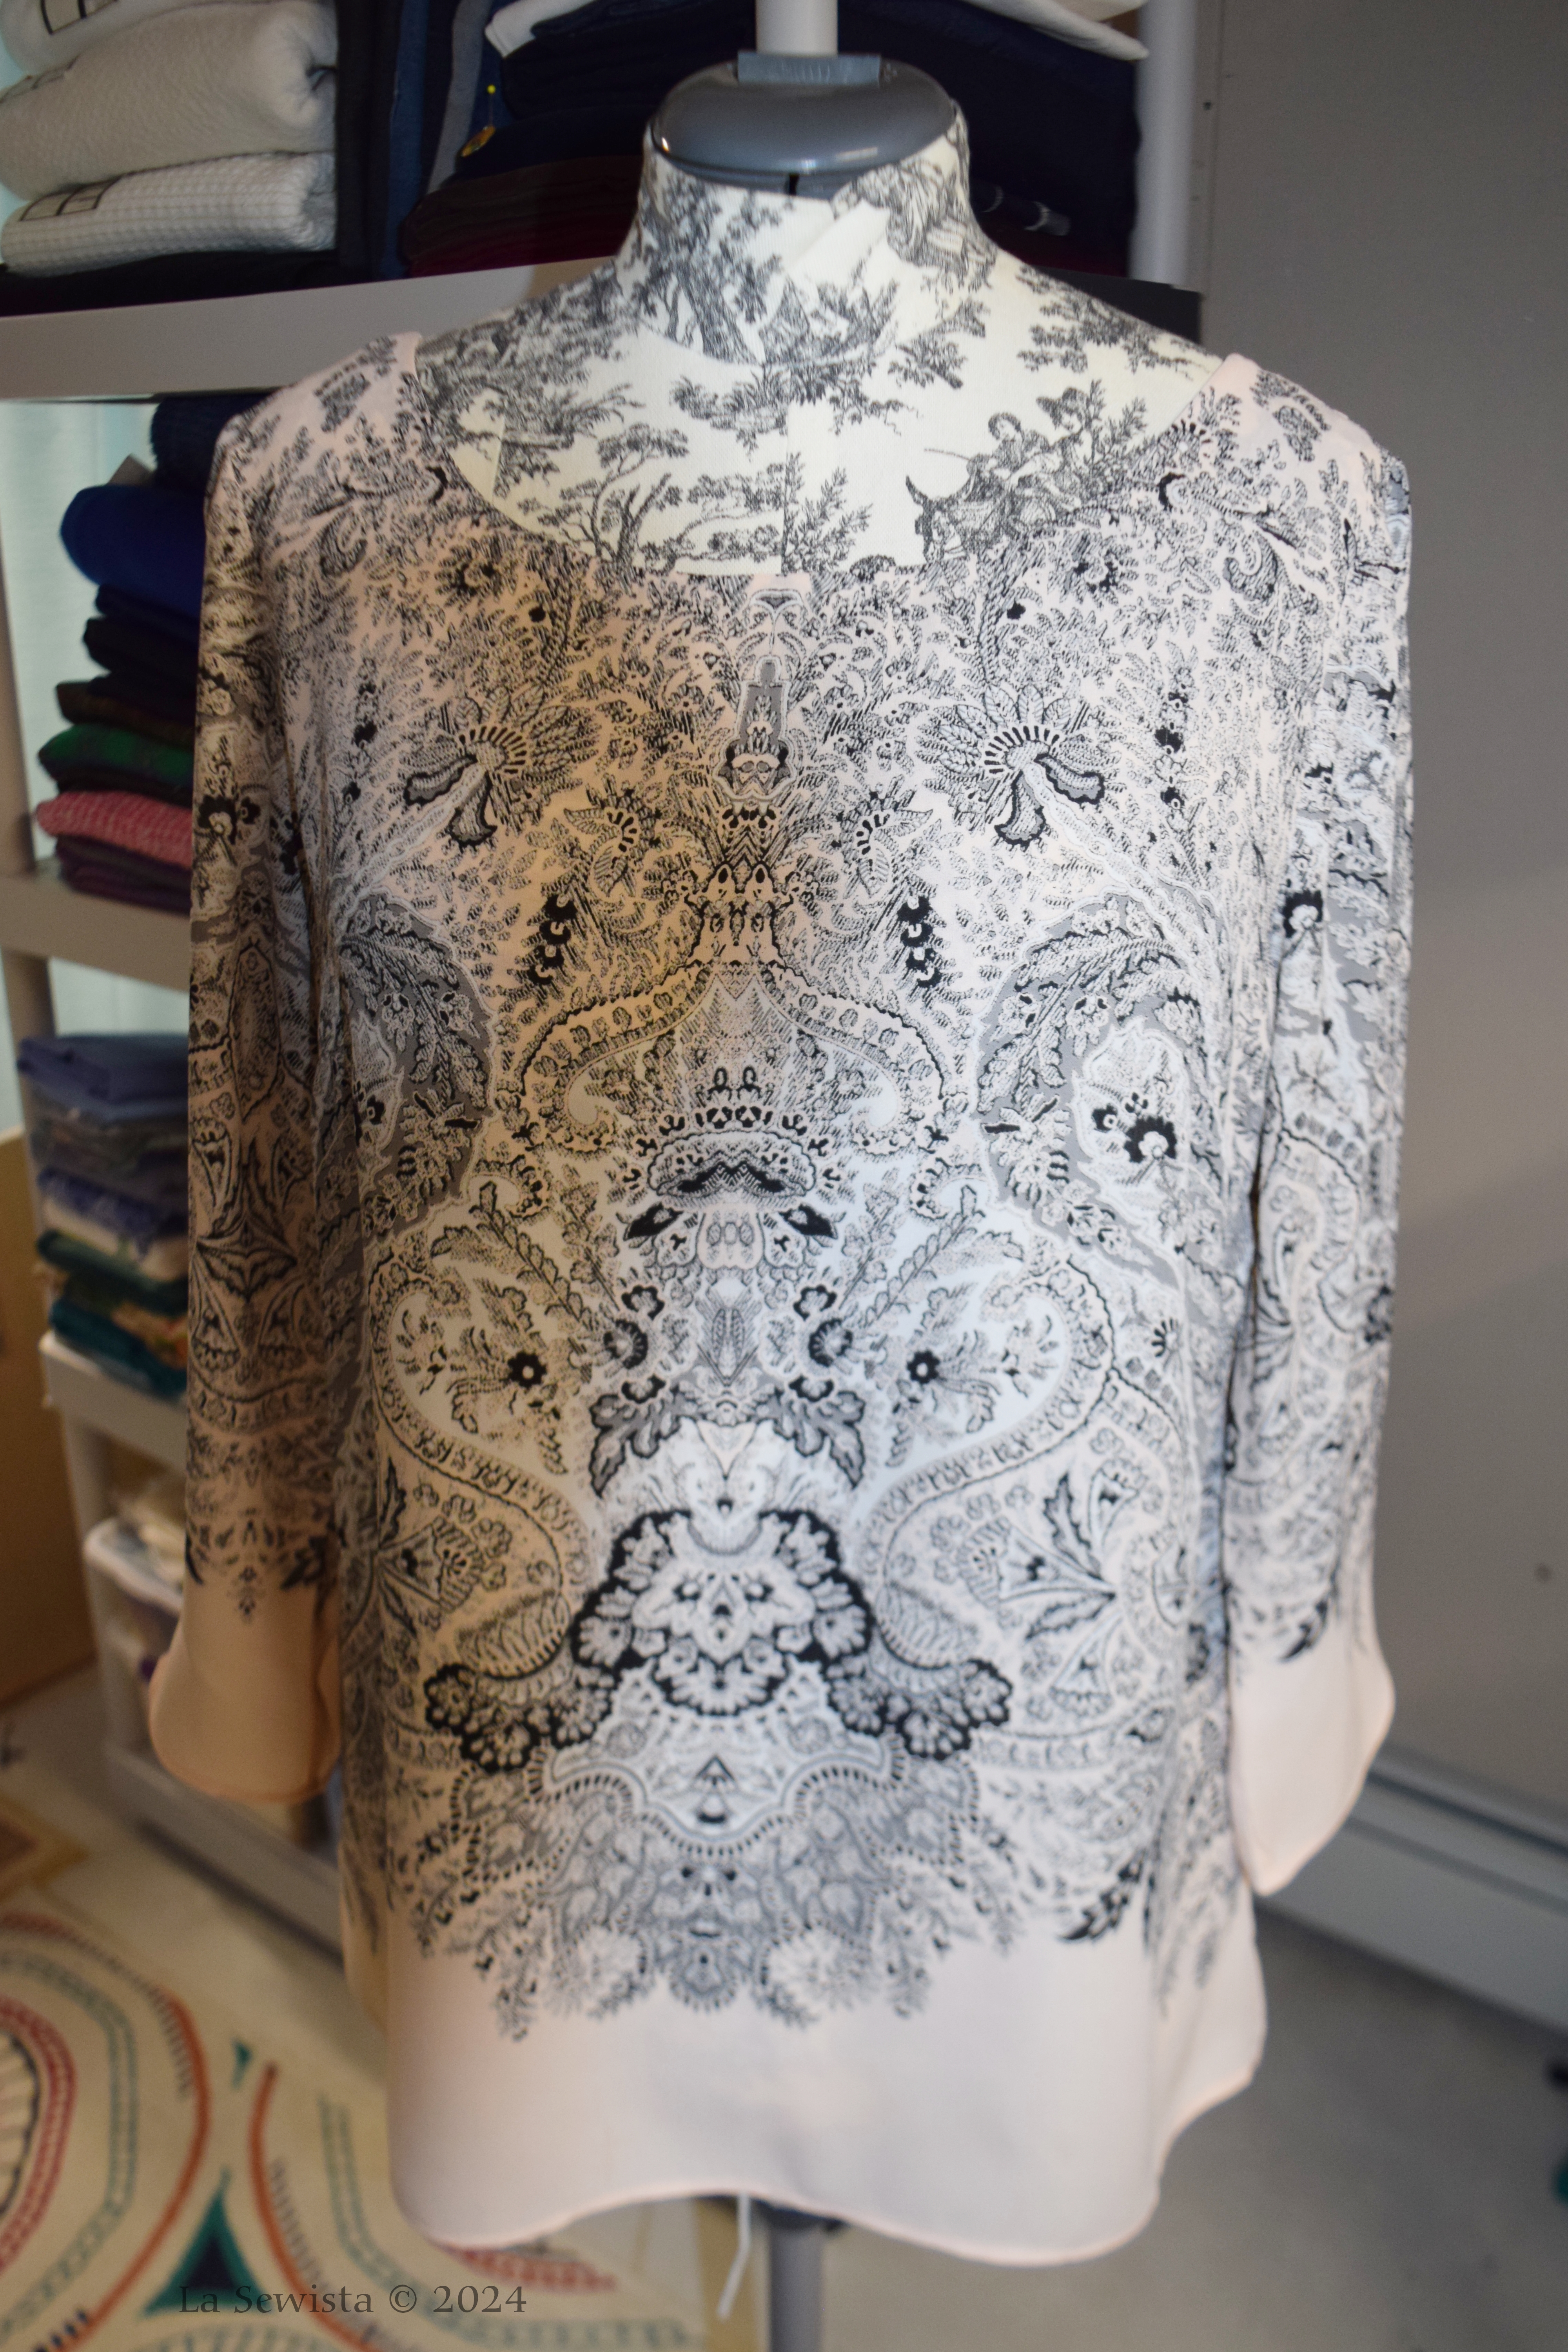
The magnificent detail on this dress is it's sleeves. Please go to the website to get an even better picture. Here is why: my short arms don't do them justice. Every pattern I make, I end up taking out two inches of length. After making a mockup of this sleeve in muslin I knew i had to do the same here, but where and how? Starting at the top, the sleeve consists of blank space, then two big pleats, more blank space, then 3 big pleats, THEN a circular section , all bias, then the cuff.

If you look at the garment on the website, you will really appreciate the importance of the circular piece next to the cuff. It turns the sleeve into a lantern shape that is quite distinct. I did a half inch tuck above the first group of pleats at the top and then another half inch tuck above the next group of pleats. This gave me my two inches to remove. I know I could have gotten all mathmatical with resizing all the pleats but I just wasn't up to that. So, I sort of missed out on the drama of the lantern effect, but it is still a beautiful sleeve. The sleeve has a strong cone shape.

I did no other adjustments before construction. I did go in after the fact and reduce the waist by a couple of inches. The bodice is very wide and boxy but you know I am very narrow there so for most of you it may be just fine. I like boxy bodices but it was just a bit too much for me so I pulled it in. Next time I will reduce the width by a couple of inches before cutting. I made the smallest XS size. For comparison's sake I normally take a size four in a top. I really like the way the band covers the gathering on the bodice, very pretty.

In Conclusion:

Bottom line: This is a fun dress. I think it may have its own time and place but will look great once there. Every year my daughter and I like to go to the giant and wonderful Sunapee Craft Fair in New Hampshire. This will be perfect to wear for that, also for family cookouts and such. I will fill the neckline in with some jewelry. It all just makes me feel rather festival! In reality I am off to replace another zipper for a client. Do give the Notches designers a try. They have some really lovely designs that are very well made, with that definite European vibe. There will be more Dilas to come............Happy Sewing... Bunny